Where do I start?
In the guide below, we show you how to create a new project in Sitecloud. It is important to know that there are two type of projects which can be more suitable for different type of users but we will dive into these details later.
Create a project#
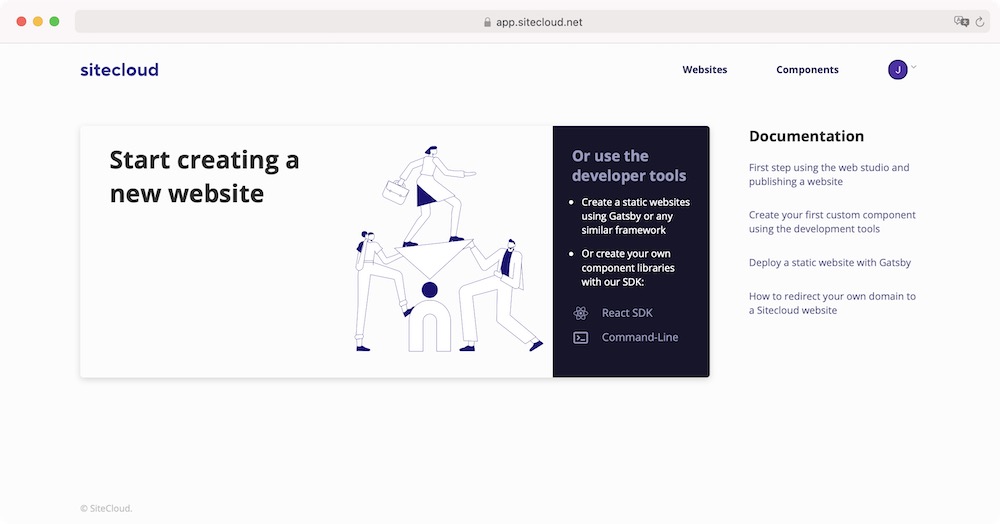
After you sign up for Sitecloud (https://app.sitecloud.com), or if you have already registered for an account, you need to create a new project. Go to the dashboard and click on Start creating a new website
A new screen will appear where you should enter the name of your project and a title:
- Name of the project will be unique between your other projects and it will help you to quickly identify it in the dashboard.
- Title will be shown to your visitors in their browsers.

Now your project will show up in the dashboard, let's now explore the most important features. Click on the project and the details page will show you four different tab sections but for now, lets explore the General tab and how to start building your website:
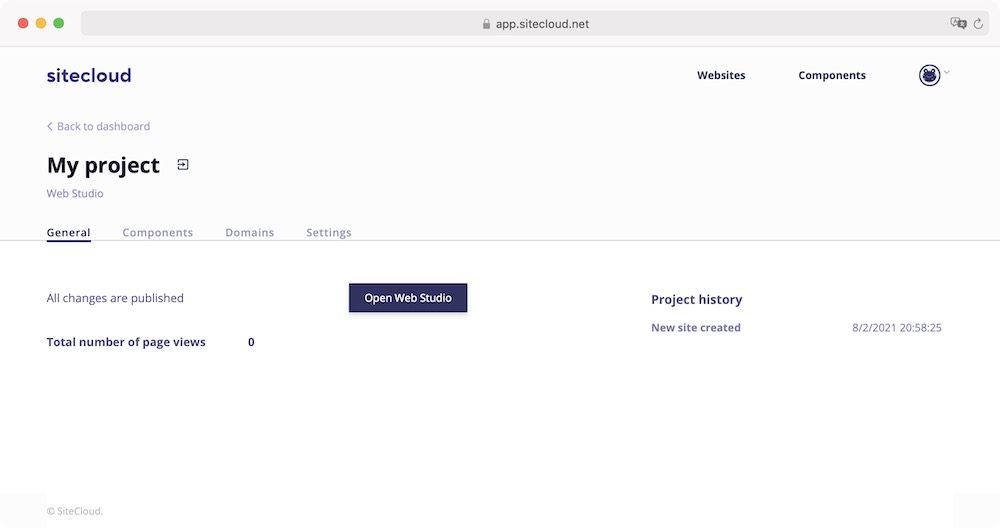
This tab will show you the current state of your project. You will find the next information:
- Project type: Find this right behind the name of your project. In this guide your first project is a Studio Project what means that your project is based on the visual web editor.
- Changes state: In this particular case and because you just get started, it tells you there is no changes pending of being published.
- Total number of page views: Sitecloud directly counts the number of visits to your websites in a GDPR compliant manner.
- Project history: brief timeline of the latest changes you have made on your porject.
Now it is time to start working on your project. Click on Open Web Studio to open the web editor, here you can drag and drops components to your canvas to compose your web site, components are shown in the left column and component properties are shown in the right side:
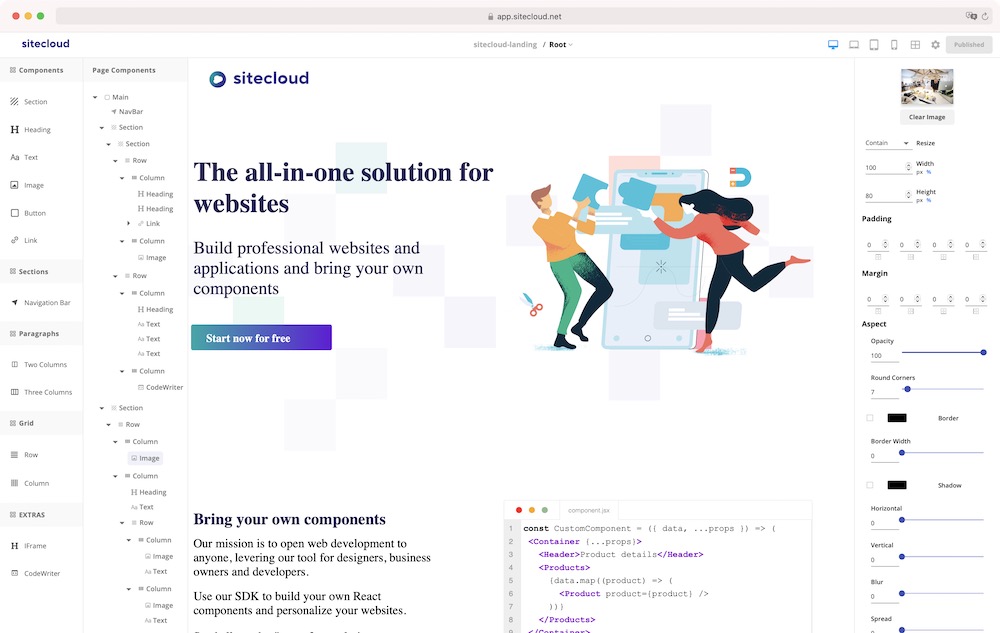
Try first to drag the Heading component to your canvas, it will show up with a default text. Now double-click on it to change the text, its properties will also show up in the right side of the screen. Try to change the text and the font size, notice how the Publish button gets enabled and highlighted on red, that means you have new changes and they are still not publish, click on Publish.
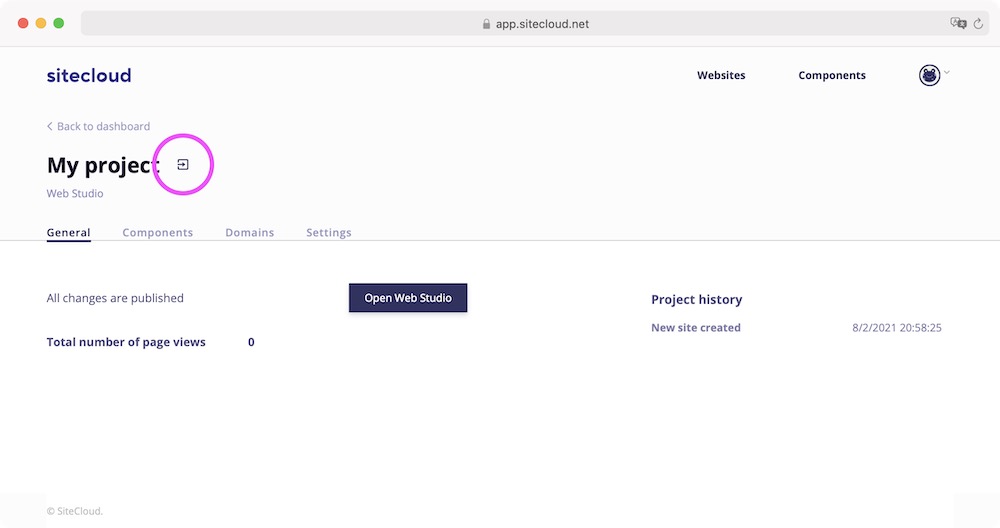
Now lets visit your new fancy website, go back to the General tab page and click on the encircled button in this next screenshot. Congratulations! A new browser window will open with your new website!